
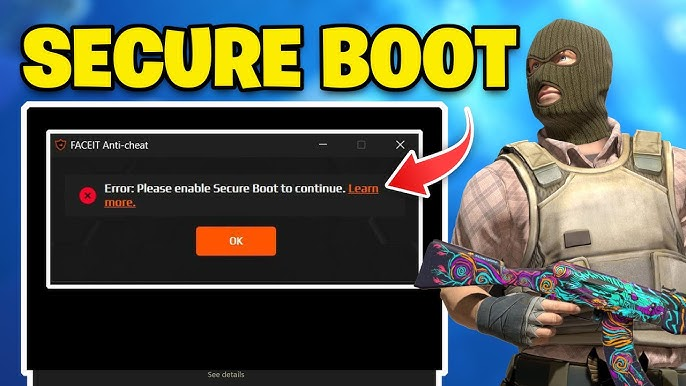
A lot of players have been there: you open a lobby on FACEIT and instead of a match you get an anti-cheat error. To enable Secure Boot for FACEIT, you need to enter BIOS, confirm that boot mode is set to UEFI, and activate the feature in the Security section. As of November 25, 2025, this requirement applies to everyone: without Secure Boot and TPM 2.0, you can't join a match.
What Is Secure Boot and Why Does FACEIT Anti-Cheat Need It?
Secure Boot is a UEFI security protocol. Every time your PC starts, it verifies the digital signatures of software that loads before Windows: if a signature doesn't match, that component is blocked from loading. FACEIT Anti-Cheat operates at the kernel level, and without Secure Boot it can't verify that no cheat driver or rootkit was loaded into the system before Windows started – which is exactly how serious cheating tools work.
Together with TPM 2.0, Secure Boot generates a cryptographically protected boot report – Measured Boot. FACEIT AC verifies this before connecting: if the boot is clean, access is granted; if not, the connection is blocked. Enabling Secure Boot for FACEIT doesn't cost you any performance: it only runs at boot time and has no effect on FPS or ping.
How to Check Your Secure Boot Status Without Entering BIOS
Before going into BIOS, it's worth checking your current status from within Windows – Secure Boot may already be enabled. This is especially relevant for anyone who installed Windows 11, since the OS requires Secure Boot by default during setup. The check takes under a minute.
Press Win + R, type msinfo32, press Enter. In the window that opens, check two values: BIOS Mode – should be UEFI; Secure Boot State – should be On.
If BIOS Mode shows Legacy and Secure Boot State shows Off or Unsupported, the system is booting in legacy mode. In that case, you'll first need to convert your drive from MBR to GPT and switch to UEFI – only then can you enable Secure Boot in BIOS. If BIOS Mode is already UEFI and Secure Boot is simply Off, your drive is fine – you just need to head into your board's settings.
What to Do Before Enabling Secure Boot for FACEIT

You can't always just walk into BIOS and flip a switch. Some players find that after their first attempt to enable Secure Boot, Windows won't start – that's fixable, but a few minutes of prep will save a lot more time.
First – check your drive's partition type. Open Disk Management (Win + X → Disk Management), right-click your system drive → Properties → Volumes tab → Partition Style. GPT – you're good. MBR – you'll need to convert before Secure Boot will work properly. Microsoft's official tool: run mbr2gpt /convert /allowFullOS in an elevated command prompt. Always back up your data before any disk operations.
Second – update your BIOS. FACEIT has documented issues with outdated firmware on Gigabyte and MSI boards. Find your exact board model in msinfo32 under BaseBoard Product, then download the right firmware version from the manufacturer's website. After updating, enabling Secure Boot for FACEIT should work on the first try.
How to Enable Secure Boot for FACEIT on Gigabyte Motherboards
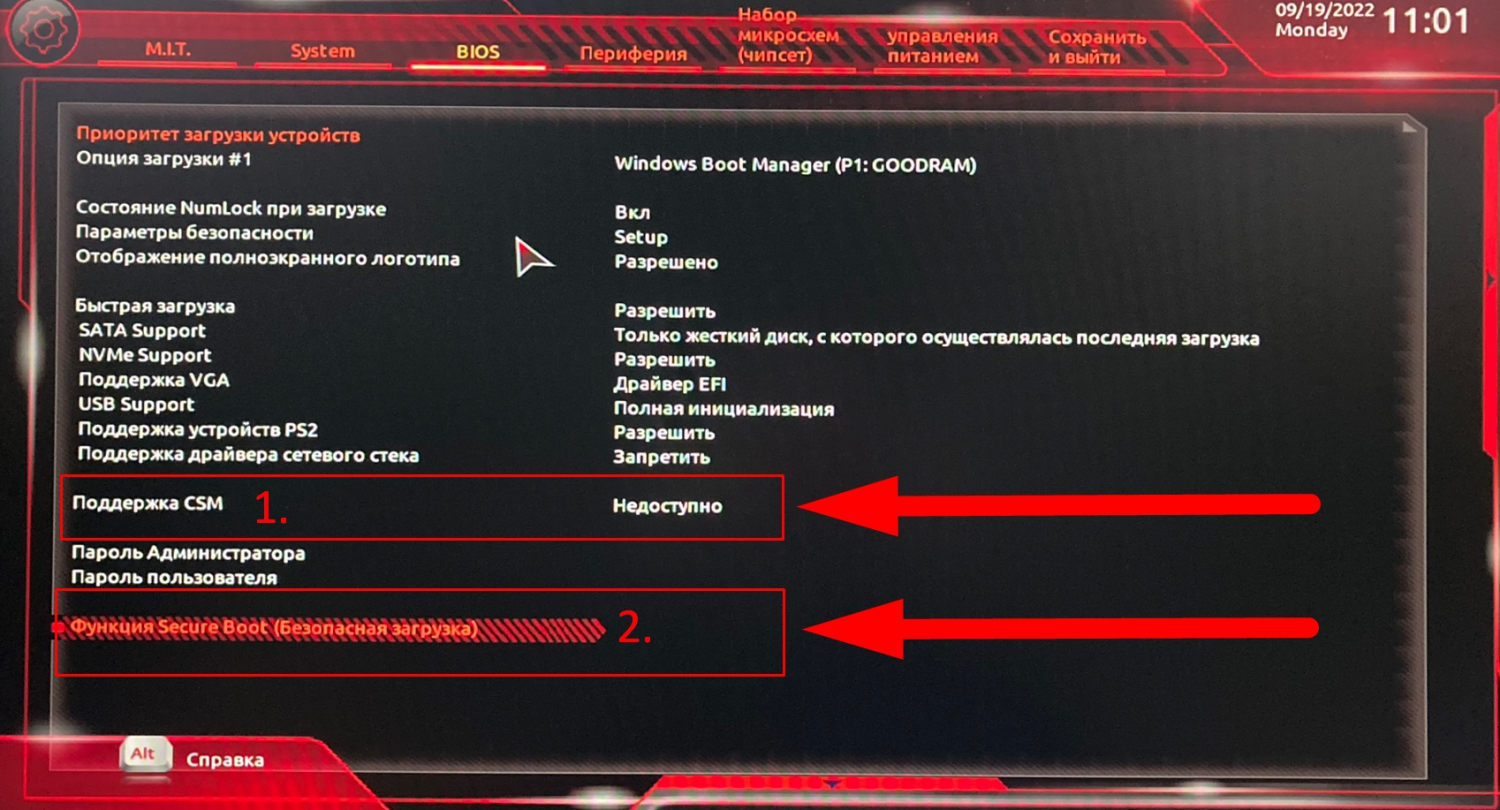
Gigabyte boards have one catch that trips almost everyone up: while CSM (Compatibility Support Module) is enabled, the Secure Boot section won't appear in BIOS at all. Players go in, don't see the option, and assume the board doesn't support it. It does – you just need to disable CSM first. Only after that can you enable Secure Boot properly.
Here's the full sequence from Gigabyte's official guide. Skipping any step will either prevent Secure Boot from activating or leave FACEIT AC rejecting it:
Restart your PC and hold Delete to enter BIOS.
Switch to Advanced Mode (F2 or the corresponding button).
Go to Boot → CSM Support → set it to Disabled.
The Secure Boot section will now appear – open it.
Set Secure Boot Mode to Standard.
Set Secure Boot to Enabled.
When the system prompts you to restore Factory Keys, confirm it – this happens automatically.
Save: F10 → Yes → reboot.
Verify in msinfo32: Secure Boot State = On.
If FACEIT AC is still throwing an error after the reboot, check your firmware version. Gigabyte has released a BIOS update that resolves Secure Boot issues with FACEIT. After updating, you'll need to redo the configuration – firmware updates reset Secure Boot to factory defaults.
How to Enable Secure Boot for FACEIT on MSI Boards
MSI is its own situation. FACEIT has officially documented a bug: on certain boards, Secure Boot shows as Enabled in both BIOS and Windows, but FACEIT AC rejects it because the default keys are incorrect. So enabling Secure Boot for FACEIT on MSI requires a different approach.
The key difference from other boards is selecting Custom mode instead of Standard. Before starting, make sure your firmware is up to date – without this, the required menu options may not be present:
Restart your PC and hold Delete to enter BIOS.
Navigate to: Settings → Security → Secure Boot.
Set Secure Boot Mode to Custom.
Set Secure Boot Preset to Maximum Security.
Save: F10 → Yes → reboot.
If 'Secure Boot Preset' or 'Image Execution Policy' aren't in the menu, the firmware is outdated and needs updating. According to FACEIT Support, sometimes only the beta firmware update resolves the issue. After updating, run through the steps above again and verify in msinfo32 – Secure Boot State should show On.
How to Enable Secure Boot for FACEIT on ASUS Boards
ASUS boards are more straightforward, but different firmware versions name the required setting differently – which causes confusion. FACEIT specifically states that on ASUS boards, Secure Boot should be set to Windows UEFI Mode – though some firmware versions simply call it Standard. Both are correct, there's no functional difference.
The ASUS sequence is simple. Don't skip the final msinfo32 check – confirming the result before launching the FACEIT client is always worth it:
Enter BIOS (Delete or F2 at startup).
Go to Advanced Mode → Boot → Secure Boot.
Set OS Type to Windows UEFI Mode (or Standard).
If offered a choice between UEFI and UEFI with CSM, select UEFI.
Save: F10 → reboot.
Verify in msinfo32: Secure Boot State = On.
Gigabyte, MSI, and ASUS each have different menu paths and naming conventions, but the principle is the same across all three: UEFI without CSM, and Secure Boot active with trusted keys. Once configured correctly, FACEIT AC accepts the system without errors.
What to Do If Secure Boot Is On but FACEIT Still Throws an Error
This is the most common situation: msinfo32 shows On, BIOS looks correct, but there's still an error on launch. Before wiping your settings and starting over, check a few typical causes – most resolve quickly.
The most common culprit is Setup Mode. If you see 'Secure Boot can be enabled when system is in User Mode' in BIOS, the feature is stuck in setup mode and isn't actually active. Fix it by going to: Security → Secure Boot → Key Management → Install Default Secure Boot Keys, then switch Secure Boot Mode from Custom to Standard and save. This step is frequently missed when players try to enable Secure Boot on their own.
The second culprit is an MBR drive: Windows is booting in Legacy mode. Fix: convert using mbr2gpt and switch to UEFI. The third is an outdated BIOS: after a firmware update, Secure Boot resets and needs to be re-enabled. If nothing works, reinstall the FACEIT client from faceit.com.
Done – Head into the Lobby
Getting Secure Boot set up for FACEIT is simpler than it looks. Gigabyte: disable CSM, set Secure Boot Mode to Standard, enable it. MSI: Custom mode + Maximum Security, firmware must be up to date. ASUS: OS Type = Windows UEFI Mode – and you're done.
Since November 25, 2025, Secure Boot and TPM 2.0 are mandatory for everyone on the platform. Next up: IOMMU and VBS, already mandatory for players above 3,000 Elo since August 2025. From October 14, 2026, Windows 11 will be required – FACEIT has aligned this deadline with Microsoft's end-of-support date for Windows 10. Better to sort it out now than to hit an error right before a match that matters.